
In a previous post, I wrote about my purchase of a HP Proliant DL360 G7 server. It was designed to be rack mounted, but I don’t own or wish to possess a 19 inch rack.
After searching online for a ready made solution that would allow me to vertically mount a rack server (some sort of feet in way), I quickly reached the conclusion that none was either cheap or truly met my requirements.
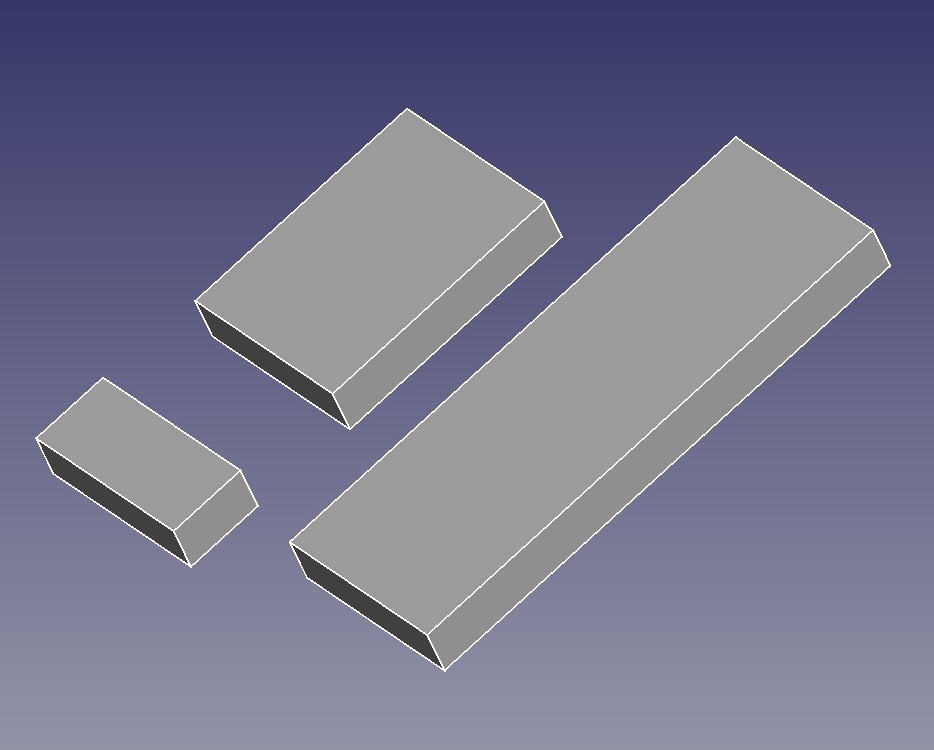
I started thinking about it, and realized that wood, screws, glue and angle brackets would be viable and easy to source materials, therefore I opened FreeCAD and made a 3D model of my concept.


DOWNLOAD LINK
Name: Server_1U_stand_3D_Project.FCStd
Size: 11,6 KB
SHA256: FEBDA6C0658B1BE7DE9E14A68AAE1BAF0D140D212BFD24889A10599F7AAF618D
At the local hardware store I was able find all the materials for less than 20 złotys (5 euros). The wood was sourced and cut to size for free.
The list of materials was:
- 32x 4mm by 16mm wood screws
- wood glue
- 8x 40mm steel 90° brackets
- anti-scratch pads
- 18mm wood cut to size

The build process started by gluing and clamping the lower feet. The next step was, measuring half a U (1U=44.45mm) from the center in each direction, perpendicular length wise.
I marked the wholes for the screws matching the wholes in the brackets, and took in consideration the thickness of the vertical wings. Drilled the screw holes with a 2mm drill.
After screwing everything together, I added the anti-scratch pads in the bottom to make sure that the floor wont end up scratched.


The final result is a cheap and stable server stand. I later found that it fitted perfectly behind my television right next to my router.


